
How to Use Adult Diapers: Step-by-Step Guide for Caregivers and First-Time Users
Aug 6, 2026
The first time is usually tough.
You do the best you can, administer meals and meds and sit with them through the rough nights, but now you're there, on some random morning, totally on your own with an adult diaper...looking at it confused and concerned for their safety.
It's an awkward and disorienting position to be put in for the first time as it is for the overwhelming majority of other families. Most arrive to the situation with no experience, no guidance, and no one able to show them the first steps.
There's a reason we focus on the how.
Changing adult diapers isn't a complex, drawn out process. What many people don't realize is that a change done right is actually the only way substantial injury to the person in care can be avoided. Adult diapers can cause skin breakdown and infections that can be aggravated by poor and repetitive ergonomic positioning.
This guide is aimed at the caregiver who wants to get it right. This guide provides the caregiver a step-by-step instruction on how to properly change a pull-up style and tape style adult diaper. For a caregiver helping an independently mobile parent for the first time, this guide is useful. For the caregiver changing an adult, bed-ridden, dependent individual for the first time, this guide is for you too.
Before we begin, here's something important to note:
This guide provides information but cannot replace the hands-on training you would receive from a qualified professional. It is especially important that a new caregiver requests a home-care nurse or physiotherapist to show the side-roll technique before attempting to do so independently for the first time. This will help and ensure the caregiver does not experience back pain for an extended period and provides the caregiver with new confidence.
Why Getting the Technique Right Is a Bigger Deal Than It Sounds
This is especially awful for the first weeks of caregiving where you are just trying to keep up. Get the change done and the clean done, and keep moving on. You will not have an idea of what happens when you do not get the technique correct until you see the consequence.
Most of the research on this subject actually points to the fact that most leaks from incontinence products do not in fact fail the product. Applying the product, in this case a diaper, is the final and usually the most important step.
A research review in the Journal of Multidisciplinary Healthcare related that almost half of older adults experiencing incontinence develop a condition called incontinence-associated dermatitis. This condition is at best unpleasant. At worst, it is a progression of skin irritation that can result in the development of open wounds. The process is exacerbated when the products that are supposed to assist and protect manage incontinence fail.
A series of meta-analyses focused on the impact of incontinence on the development of pressure ulcers - the first ulcer, incontinence on its own, increases the risk by almost two fold. The presence of both urinary and bowel incontinence increases the risk of pressure ulcers developing by almost five fold.
The body often whispers before it screams.
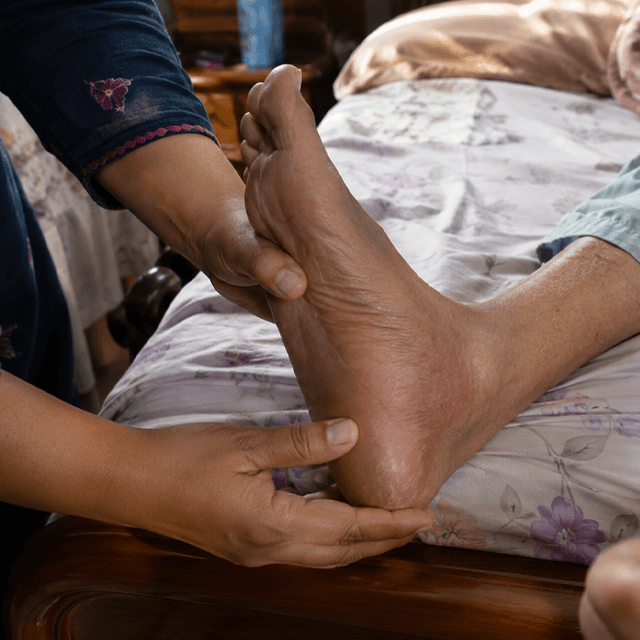
Redness, even in a creased bed sheet, is an early and easily ignored sign that something is not right. It is the precursor to blisters and the demand for specialized nursing care. The progression can be easily curtailed if it is early enough.
Before You Begin: Getting Everything Ready
Experienced caregivers learn this lesson early on: forgetting something in the middle of a change is not only inconvenient. It can increase the risk of exposure and contamination.
Take care of this one simple rule: make sure you have everything you need before starting the change. Lay it out.
What You Need for Both Scenarios
- Latex-free disposable gloves, with nitrile being the preference.
- Unscented wipes that contain no alcohol and are wet, or soft cloths that are moistened.
- Barrier cream that is either petrolatum or zinc oxide based.
- A clean, appropriately sized adult diaper.
- A lined trash bag or bin close at hand (within an arm's reach).
Additional Needs for a Senior who is Confined to Bed
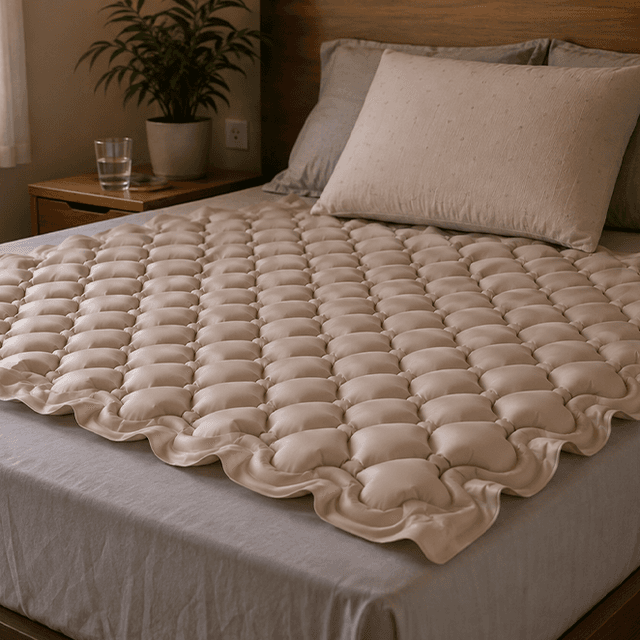
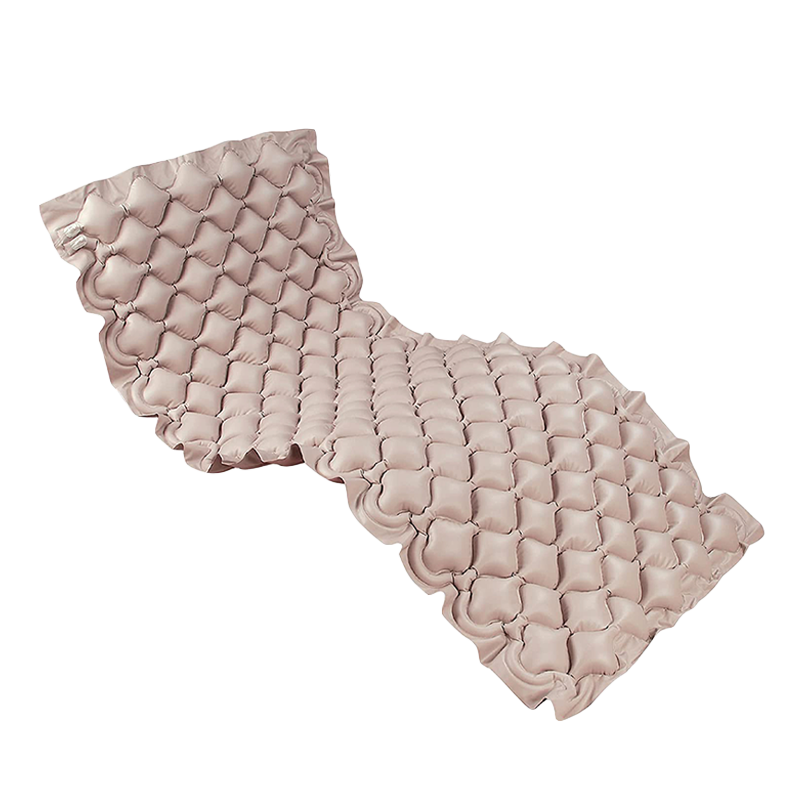
- An absorbent, waterproof underpad. This is sometimes called a Kylie or a bed pad.
- A turn sheet or draw sheet. If you have one, it goes under the senior. It makes the side-roll much easier and reduces friction.
- A second person (necessary for larger and senior persons who have less mobility).
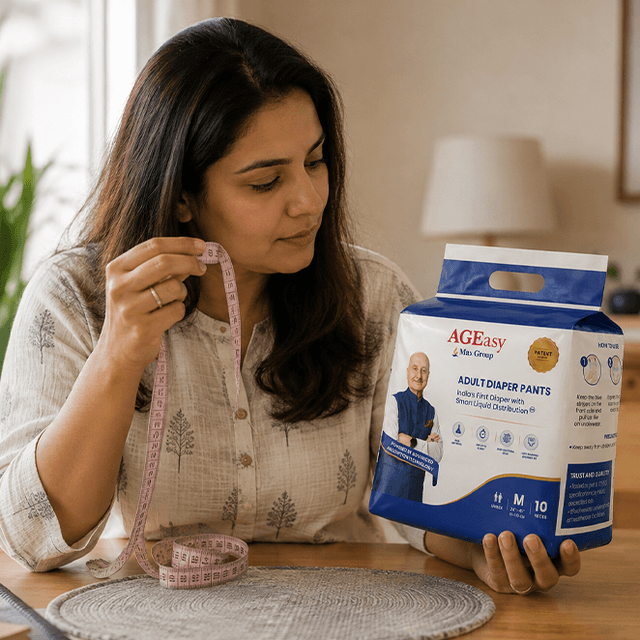
Something worth checking before you start is the sizing of the diaper, and you need to be sure to get it right. If you get a large diaper that has gapping at the leg openings, it will leak, no matter how you put it on. On the contrary, if you have a diaper that is too small, it will create pressure lines and circulation issues.
The Pull-Up Change for a Mobile or Semi-Mobile Senior
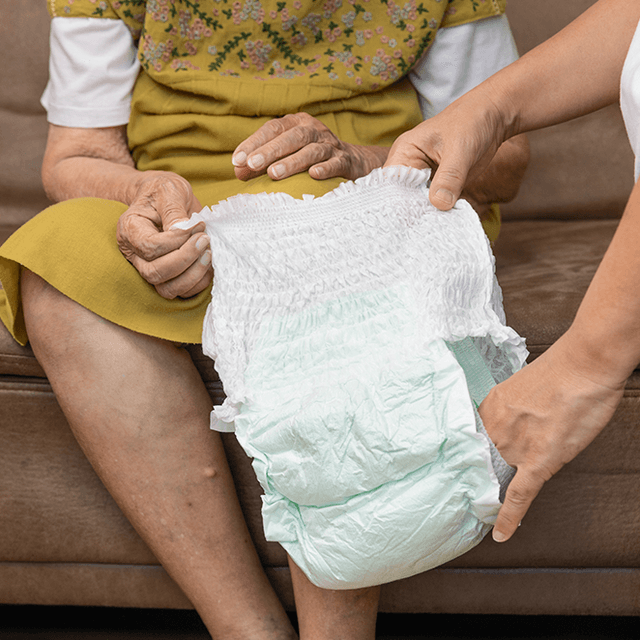
For a Senior who can at least partially stand or sit at the edge of the bed with some (or full) control over their weight, a pull-up style diaper is likely the best solution. The style of diaper works just like regular underwear. They can provide a greater sense of dignity and independence and are less complicated than they may seem once the technique is learned.
Let's take a look at the technique, step by step.
Step-by-Step: The Pull-Up Change
- This should be done with gloves and with care to ensure that neither the soiled diaper nor your skin are contacted.
- The Senior should be assisted to a standing position and able to securely hold something like your arm, a grab rail, or a piece of sturdy furniture. This should also be accomplished if able, by sitting at the edge of the bed.
- If the diaper has side perforations, tear them. If not, pull the diaper down to the floor and guide it past the Senior's feet.
- Inwardly fold the soiled diaper to enclose it and its contents and place it in your disposal bag. Do not place it on the bed or a chair.
- The perineal area should be thoroughly cleaned. Wiping should be done for females in a front to back direction to avoid the risk of infection caused by migrating bacteria from the rectum to the urinary tract. This should be done every single time.
- Never rub. Always pat or blot. Skin is more fragile than it appears in the elderly and rubbing can cause skin irritation and compromise the skin barrier, which may not be visible.
- If you see any irritation, redness, or chafing in the groin area, buttocks, or urethral area, a thin layer of barrier cream with Zinc Oxide or petroleum jelly should be applied. It should also be applied to elderly patients, who are frequently changed, and those who remain in bed for the majority of the day, during every change.
- To wear a new pull-up, place it in position as you would with regular underwear. Step into it.
- Check to see that the pull-up has a waistband that is flat and snug, but not cutting into the skin.
- Run a finger around the leg openings. The elastic should be across the leg in a snug, but not painful, position. The cuffs should be laying away from the leg. This is the step most Caregivers skip, and it's the most common cause of side leakage.
- Remove the gloves and wash your hands with soap and water for 20 seconds or more.
The Tape-Style Change for a Bedridden Senior Using the Side-Roll Technique
This is the most stressful part to most new caregivers. It is understandable. It is more complicated, requires moving the patient to a different position in bed, and has a smaller margin for error.
One thing is true about home-care nurses: They turn patients many times each day. Most say it becomes automatic in about a week. The side roll can be taught. The key is to slowly, accurately teach the side roll instead of at a rapid pace.
Before we go any further, it is important to note that if any of the patients you are caring for has a suspected injury to the spine, back surgery, or a condition that the doctor has instructed cannot be turned, please get medical advice before you attempt any repositioning. The technique that we will teach is a general home-care method for the management of routine incontinence. It should be noted that this is not a log roll used in the absence of care in a hospital setting for patients with spinal injuries.
Your back is also part of this care method.
Scientific studies conducted have shown that at least a third of all injuries sustained by caregivers are from turning or repositioning a patient. In a professional setting, it is estimated that 40% of these injuries are the correct technique and are considered to be preventable. Family caregivers are repositioning patients many times each day, with no professional training to help them sustain healthy body mechanics.
Body Mechanics First, Before You Touch Anything
This should be the first thing you read. It's that important.
- First things first, to protect your back, position yourself to have a sturdy wide base.
- Next, we need to reposition the load to your knees instead of your lower back. Your lower back wasn't designed to take on a load, but your knees were.
- If the bed is fixed at a low position, try to avoid bending and instead go down on one knee.
- If you have an adjustable bed, raise it to a height level that is roughly at your hip.
- For a less mobile elderly patient or someone with more weight, you will need two caregivers. One will roll the patient while the second one will remove the soiled diaper and place a fresh one. This is the correct standard of care and you are not admitting that you are unable to do the task by yourself.
Step-by-Step: The Side-Roll Technique
- All supplies should be gathered before starting and placed to be within reach. Gloves should be on.
- If there is a side rail on the bed, lower it. Position yourself in a stance with your legs apart and with your knees bent. Maintain this position throughout the procedure.
- While the senior is lying supine (on their back), unfasten the two tape tabs on the soiled diaper and fold the diaper down (the front of the diaper) toward their feet.
- Place a hand on the seniors (the person you're caring for) shoulder and the other on their hip. With both hands, gently guide the senior to roll on their side (laterally) while balancing the senior's legs by bending the knees. Maintain a slow, steady movement to assist the roll.
- While the senior remains in the side lying position, clean the perineal and perianal areas with wipes, using a front to back motion. Once done wiping the areas, inspect the skin for the following areas: buttocks, thigh folds, and tail bone. Look for changes to the skin such as redness or patches that are shiny and/or pale. If you see any, document as these are the early signs of a pressure sore.
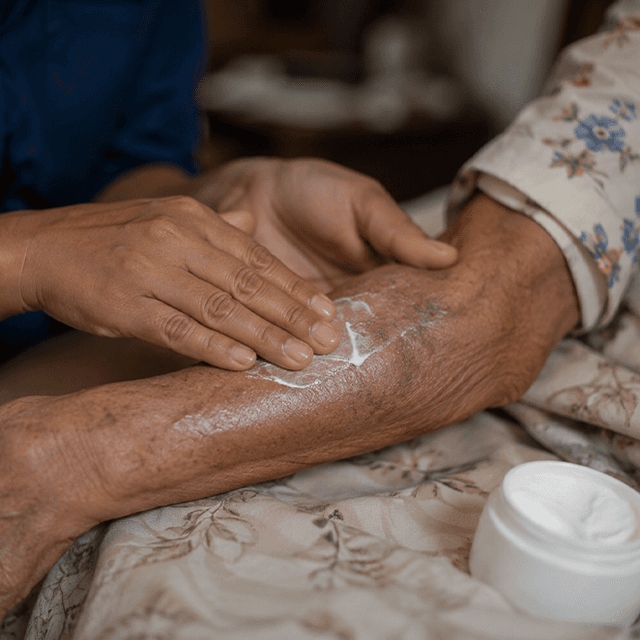
- Barrier cream should be applied wherever you see irritation, redness and to the perineal area and buttocks. The diaper should be placed after 20-30 seconds of applying barrier cream.
- Soiled diapers should be rolled inward (on itself) to encase the soiled contents. The rolled diaper should then be placed under the senior's hip and positioned away from the senior for the time being.
- Take the clean diaper and lay it flat on the bed directly behind the senior. The center of the diaper should align with their spine. The back of the diaper should be fully spread with no crinkles.
- Now, roll the senior back until they are lying on their back. They should now be resting on the new diaper, which is the correct position.
- Remove the soiled diaper and throw it away. It is much easier to throw away the soiled diaper if the senior is on a disposable underpad.
- Now, pull the front of the diaper up between the senior's legs and smooth the diaper up over the senior's front. The diaper should not be crumpled.
- Now, secure the lower tabs of the diaper first, before securing the upper tabs. The closing tabs should be resting on the front of the diaper, not on the senior. Secure the tabs in such a way that they are angled upwards and resting on the front of the diaper.
- Check the leg openings of the diaper. If the cuffs are resting against the legs, then there will be side leakage. Check the cuffs of the diaper and make sure they are resting away from the legs.
- Now, remove your gloves and wash your hands.
The Six Steps Most Caregivers Miss
1. Leg cuffs with the outer side of the leg facing out rather than the inner side.
2. Tabs fastened on the side of the leg where they should be placed, not on the skin, and even on both sides.
3. Wiped from the front to back every time.
4. Pat dried, not rubbed.
5. Barrier cream is put on every time there is redness.
6. Inspected the entire skin at every change, not only when there is a complaint.
Skin Care at Every Change
It may seem that the steps of changing a diaper that involve caring for the skin are the least important. The most important part of the change is the diaper, and everything else is just thoroughness. That is not the case.
Incontinence-associated dermatitis is caused by moisture. Urine and feces change the pH of skin and undermine the protective barrier of the skin that keeps infections and bacteria caused by us. There is no protective barrier. Even the most friction-free clean diaper can be the most destructive.
The Sequence That Prevents Skin Breakdown
- Act quickly. Don't leave the diaper soiled and in place for longer than is necessary. New advanced moisture-sensing diapers used at hundreds of care facilities across the United States and South Korea caused a 19% decrease in skin infections and a 27% improvement in caregiver response time. The technology is new and the theory is unchanged: the less time skin is in contact with moisture, the better.
- Use the right products. Unscented, alcohol-free, or warm, moist, wipes or clothes. Wipes with any fragrance, deodorant, or alcohol will also remove skin barrier and that's the very thing you are trying to maintain.
- Pat completely dry, especially in the folds of skin.
- Use barrier cream whenever there is an obvious rash. For very incontinent, elderly, bed-ridden persons, barrier cream should be applied at every change to prevent skin rashes.
- Check skin at every change, not just when you think something is wrong. Skin can change color, and you should inspect for pale spots, or rash, especially in bony areas which can be an early sign of skin breakdown. It's easier to manage when you can first identify the breakdown, instead of it taking long to heal after complicated wound management.
If breakdown is still happening, you should definitely seek further help from a skin doctor, or a wound care nurse. Advanced stages of dermatitis and pressure sores will need clinical treatment that you won't be able to manage at home.
Protecting Your Own Body
Healthcare professionals have one of the highest rates of back and musculoskeletal injuries of any profession. Within healthcare, the nursing profession has the highest rates of injuries. In a given workplace, standing and repositioning a patient accounts for almost a third of all patient handling injuries. Family caregivers are at the same risk without ergonomic training and with few, if any, assistive devices.
Approximately 70% of the elderly population in India rely on family caregivers for activities of daily living, and only 17% have any formal healthcare services. That leaves millions of family caregivers, most of whom are untrained, to provide care on a daily basis.
5 Habits That Protect Your Back
- Hold your knees in a wide and bent position, and avoid allowing your back to round towards the bed to avoid the risk of injury. Build this habit before you need it.
- The use of a turning sheet can help you avoid friction. It requires a sheet to be placed beneath the senior, which helps with rolling due to the low friction surface.
- Position the bed at as high as hip level as possible while you are making a change. If the bed is low or a bed is on the floor, position yourself at a kneeling stance instead of bending.
- Alternate sides. Rolling the senior toward you repeatedly means you're exercising the same muscles over and over. When you're able to change the position of the senior, change the direction of your roll to lessen the strain on your muscles.
- Get the help you need. A two-person roll for a larger senior is not a failure on your part. It's the right thing to do. One person takes the senior and the other puts the diaper on and takes care of the cleaning. This is how it should be.
If you have back pain from the support you provide and are working through constant pain, you should go to an experienced physical therapist. They can provide you with support to strengthen your back, painful or not. This is just as important as the work you are doing for someone else.
A Word on Dignity
Incontinence is private. For almost all older adults, needing to have assistance with keeping themselves clean and with personal hygiene is a hard adjustment. For many, a loss of function is a loss of individuality. A diaper change conveys a message to that person. No level of professionalism can change that.
Remember the following points:
- Always indicate what you're about to do, changes included, to the person, even if they do not appear to be responsive
- Keep the senior covered for the duration of the change. Only expose the parts you need to.
- Work steadily, not briskly, as a hurried change indicates that you have somewhere else to be.
- Your impatience and frustration will also not go unnoticed. These people already have enough emotional baggage, and what you bring to the room is part of your service to them.
The combination of the closeness that comes with the added physicality of caring for another person and the vulnerability of the cared for person creates a bond that many caregivers did not expect.
Getting Help When You Need It
A guide is a great place to start, but it is just that. A start.
If you are newer to this and are about to attempt this for the first time, look for a home-care nurse or physiotherapist to help you with this technique step by step. The only thing that keeps someone from being a confident caregiver is guidance and the proper steps.
The Real Issue
The science here isn't complicated.
Wipe from front to back. Pat dry. Position the leg cuffs facing outward. Evenly secure the tabs. Apply barrier cream. Inspect the skin.
That's all.
The hard part is not the knowledge. This is hard to do correctly when you're tired, when it feels vulnerable, when no one showed you and you're figuring it out yourself.
Most of the real health decisions are not made in the hospital,
They're made quietly, at home, in a normal bedroom, by a person who cares for the person in the bed and is trying to do the best for them.
Sources
- Beeckman et al. Meta-analysis: Incontinence and pressure ulcer risk ratios. Published in peer-reviewed wound care literature.
- Journal of Multidisciplinary Healthcare. Systematic review: Incontinence-associated dermatitis prevalence in incontinent older adults (approximately 45.7% of this population).
- PMC / Musculoskeletal Discomfort in Informal Caregivers. Physical strain data for informal caregiving tasks.
- Patient handling injury databases. Turning and repositioning accounts for approximately 31% of patient-handling injuries; 40% estimated preventable with correct technique.
- ClinicalTrials.gov NCT06613503. AI Supporter study (Taiwan, 2024): bending motion injury risk during diaper changes for bedridden patients.
- MarketGrowthReports.com. Smart diaper pilot data: 19% reduction in skin infections, 27% improvement in caregiver response times across 500+ care facilities.
- NSO / AgeWell Care 2025. Approximately 70% of India's elderly are dependent on others for daily living; 17% have reliable access to healthcare services.
- QuickChange.com. Side-roll bedridden diaper change procedure documentation (November 2025).
- Royal Children's Hospital clinical guideline. Log-roll: spinal-precaution technique clarification (distinguishing clinical from home-based side-roll).